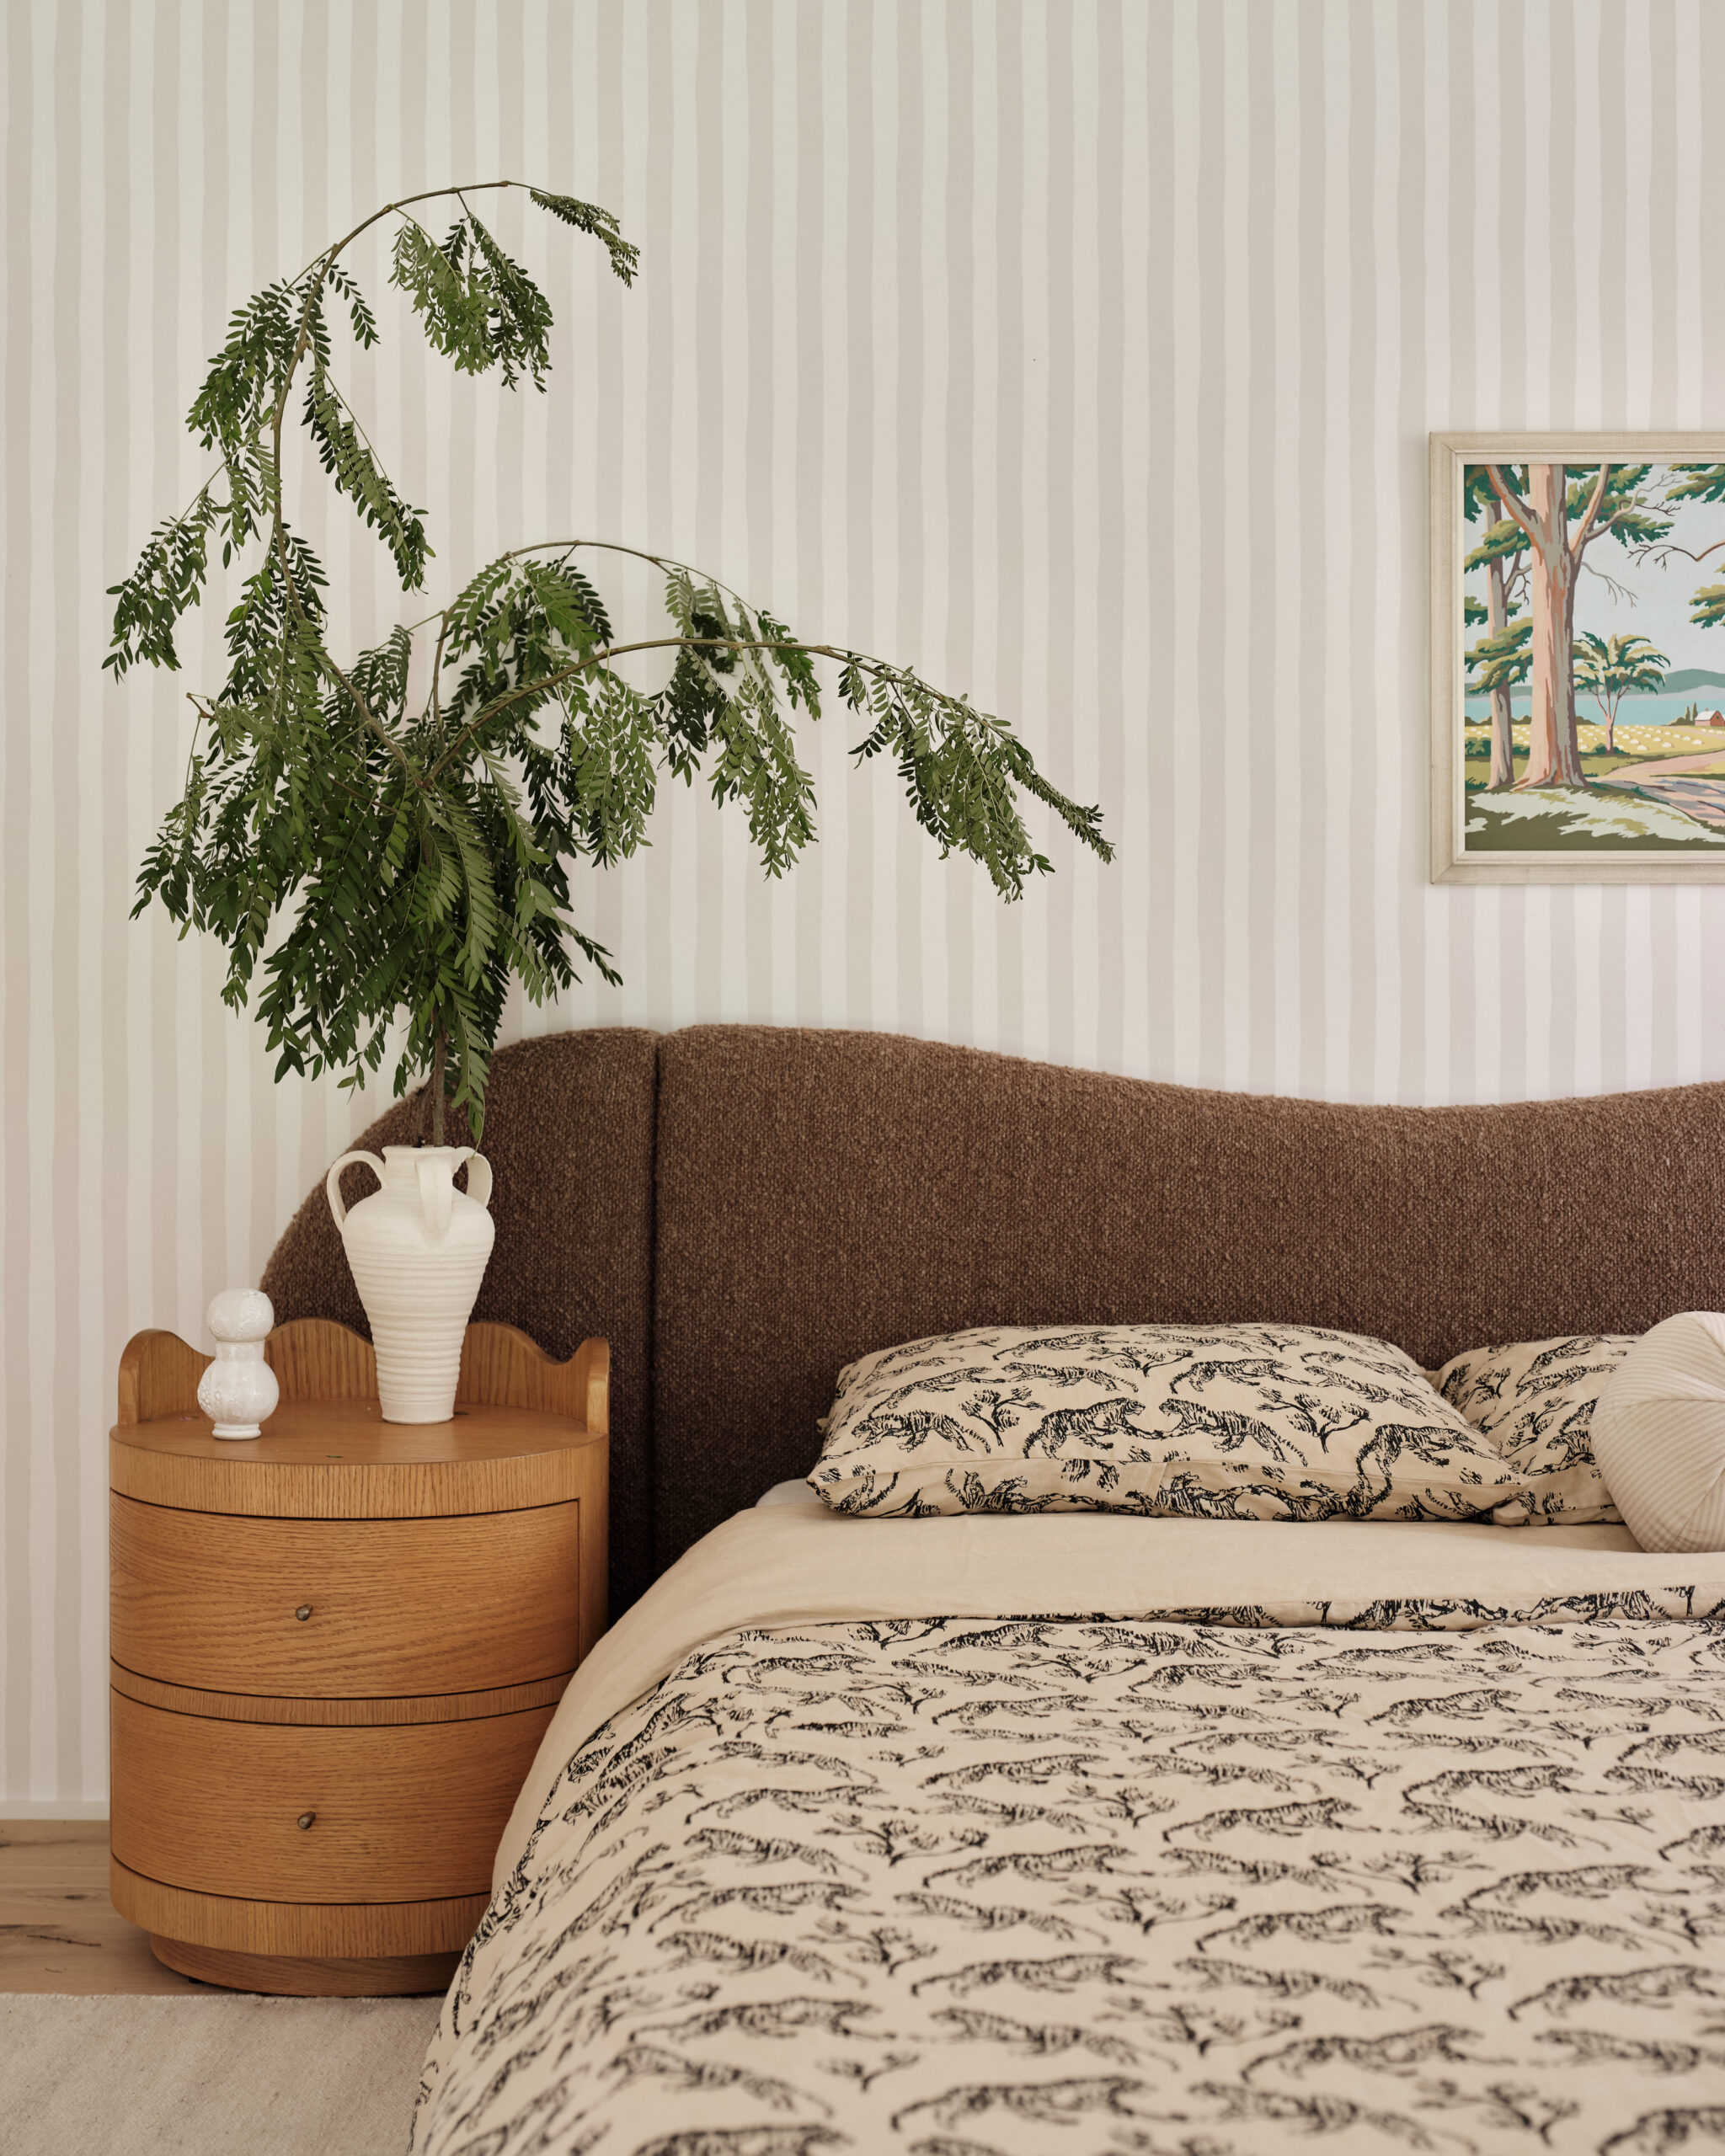

 Not a lot has happened in the bedroom since I last checked-in, however we did finish re-upholstering the old bed (more on that in a minute). Now, we are on the hunt for some nightstands. I stole the little plant stand from next to the dresser so I have something to put a glass of water on at night but Rupe still has nowhere to put his Harlequin novels (what’s a man to do!). So, I’ve rounded up some of my favorite nightstand options to try and narrow the search.
 Good nightstands are like the unicorn of home furnishings. So hard to find! I tend to like larger, more dresser sized nightstands like the campaign style or the double drawer, but in this space they might be a bit tight. I also love the look of a simple brass side table like the libby or the hexagon but they don’t offer up any storage. I thought I had found the perfect one when West Elm came out with the Penelope nightstand but they only make the all white version in large and, by george, I wanted the wood one in LARGE. What to do, what to do.
Penelope Nightstand // James Nightstand // Campaign Style // Hexagon Side Table // Catalina Nightstand // Tall Storage Nightstand // Audrey Nightstand // Double Drawer Dresser // Libby Side Table
Good nightstands are like the unicorn of home furnishings. So hard to find! I tend to like larger, more dresser sized nightstands like the campaign style or the double drawer, but in this space they might be a bit tight. I also love the look of a simple brass side table like the libby or the hexagon but they don’t offer up any storage. I thought I had found the perfect one when West Elm came out with the Penelope nightstand but they only make the all white version in large and, by george, I wanted the wood one in LARGE. What to do, what to do.
Penelope Nightstand // James Nightstand // Campaign Style // Hexagon Side Table // Catalina Nightstand // Tall Storage Nightstand // Audrey Nightstand // Double Drawer Dresser // Libby Side Table
To see all of the home renovation progress check here.
To get the rundown on how we reupholstered the bed, continue on after the jump!
 So this is what happened to our headboard. The sun bleached any part that wasn’t covered by pillows from grey to a golden yellowish, leaving it with a not so desirable ombré. Reupholstering it was the most cost effective option we we rolled up our sleeves and took a stab at it. Sidebar: I am not a seamstress and this is not a step by step DIY because we made it up as we went along and just hoped for the best. Luckily it turned out well but I didn’t record all the steps because I wasn’t quite sure if it would work! With that said, I am going to share as many details as I can remember and hope you can come away with something!
 First thing I did was layout the fabric and cut around the pieces of the bed that needed to be re-covered, leaving enough fabric around the edges to wrap all the way around the back. The base was super easy as there was no sewing involved. You basically wrap the fabric around the edges and staple the dickens out of it with a staple gun on the back (one staple every inch or so). When I got to the edges I folded it up like hospital corners on a bed and stapled it secure.

 The headboard was a lot trickier especially because I wanted to change the look and feel from a tailored nailhead trimmed headboard to a more relaxed casual vibe. To start it off, I cut 1″ thick foam to size, to pad the front and top of the headboard. I then used a upholstery spray adhesive to stick it on before covering it with the new fabric.
 When it came to creating the piping you see in the fabric, I first draped the fabric over the headboard and pinned the piping cord into place. I then took the fabric back off the headboard and using a zipper foot on the sewing machine, sewed the fabric around the cord (there is a good tutorial on how to make your own piping here). Once the last piece of cord was in place, I wrapped the fabric back onto the headboard and stapled it secure on the back.

 And here is the final result! We are really happy with how it turned out, I can’t get enough of that green color in my life right now… and even the comfort factor went way up with the extra layer of padding.
Sources: Fabric from F & S fabric // Rug from Esalerugs.com // Hexagon Side Table from One Kings Lane // Pendant from a vintage shop, find new: Octo Pendant by Secto // Bedding by Parachute
Images by Sarah Sherman Samuel

Branding and Initial Web Design
Nature
Web Design Production
Jane Reaction
Site Development
Alchemy + Aim
Well that headboard turned out great! It looks really good!
xo Andrea
Wonderful and Marvelous
A fix to to the Penelope Issue could be finding two vintage round drawers that are similar and having marble cut to match the top?? IDK.. might not be worth it in the end cost-wise. But the Penelope is definitely my favorite.
Absolutely love! You have done an amazing job!! I love your home and watching it grow into your own, I will be taking inspiration from it as was decorate our new abode! Thank you!
how bout this? http://www.westelm.com/products/mid-century-nightstand-acorn-g968/?cm_src=AutoRel2
I think I love the James Nightstand the most, i think the styling opportunities are great with that one.
I love the headboard too, it looks fantastic. The casualness of it is great, so often upholstered headboards look so formal.
It wouldn’t be my first pick for an empty space, but with your room, I think the Campaign would fit so well! Honestly the white Penelope would rock too. (I like white apparently).
haha, yea Connie, I agree. I like the white too and that large penelope is the exact size I am looking for. I didn’t think it would be so hard to find a 24″ nightstand! So many are so tiny.
I’ve been on my own unicorn hunt. Here are two options you didn’t list that made my top two:
https://www.etsy.com/listing/180815255/end-table-or-bedside-table-in-hard-maple?ref=favs_view_3
https://www.etsy.com/listing/163267752/mid-century-scandinavian-side-table?ref=favs_view_11
I think I’m going with the first.
Hi Kellie thanks for sending these over! Such great options.
Did you consider just painting the bed with fabric paint? I have a similar bed and have wondered if painting it is a possibility.
Hi Kelli,
I hadn’t thought of that because I wanted to cover up the nailhead trim as well and go for a more casual look than the original headboard but I’d love to see a version painted or even brushed on fabric dye. Could be pretty amazing.
gorgeous! love the green with the rug.
It looks really great! That’s a really pretty green.
– Christina http://www.cityloveee.blogspot.com
Since your bed is kind of leggy, I would do a metal base like the Audrey.
have you thought about taking a 3 drawer ikea tarva and hacking it? you could stain the wood, add gold campaign hardware and cover the top with marble contact paper. it shouldn’t be too hard or expensive. that is what i have been thinking about doing for my next place.
Love it! Can I ask what kind of style/type of rug is that? It’s all so pretty!
hi Nicole, yes! it is a Nahavand Persian rug.
Wow Sarah, I admire you for reupholstering the bed yourself! That is one DIY project I’ve always been pretty afraid to tackle 🙂 I really like the penelope nightstand as well, but the hexagon & libby side tables will work so well with the green colour of your bed! Either way, it will look great!
The nightstands are all a great choice, but I can’t help but suggest one. I just see them in this room!http://www.vivaterra.com/furniture/tables/modern-platform-bedside-table.html
The Catalina stands are definitely my pick for this space. I love the new green headboard… so calming!
Thanks to Kellie I fall in love with this one from etsy
http://www.etsy.com/listing/182767839/2014-collection-mid-century-scandinavian
I like non-matching side tables, less match-matchy. On your side pick something smaller and lighter and something heavier on his side where there is a bit more space and no door. Like the campaign on his side and the penelope on your side.
I think the Penelope stand would go best in this room. Very pretty!
I thought of you when I saw this today. You are so handy you could make it exactly the size you want!
http://www.abeautifulmess.com/2014/07/mid-century-modern-side-table-diy.html
Oh wow! That is awesome, I might just have to! Thanks Jessica.
Could you share the color of your perfect white walls and also the baseboard? I’m painting the interior of my house now and my head is spinning with all the options. These look just right.
this is not a bad deal for the 3 pieces (you could use the dresser somwhere else?)
You’re welcome! Looking forward to seeing if you go for the purchase or the DIY!
I love the campaign style, especially because it gives you so much extra storage space (that’s a plus in our tiny place!)
xx Lexi, Glitter, Inc.
hey! random question, where did you get your duvet cover? It looks really big! Exactly what I want, simple white.
thanks, Jillian
okay I found your link~~~ now my question is which fabric type? sateen or the other?
I love it! The bed is beautiful as is the whole room. Our Zelda table is customizable and would look great next in there!
Hi Sarah
I love this post and your design suggestions. I ordered the 2 drawer bedside table from Urban Outfitters (http://www.urbanoutfitters.com/urban/catalog/productdetail.jsp?id=31014210#/) after seeing it on your blog.
WARNING: They arrived barely packaged which resulted in the legs being damaged on both of the tables! This was a super disappointing discovery after lugging the 75lb dressers up 4 flights of stairs! Anyway – I just want to make sure you/your readers avoid buying these if at all possible!!
What is the name of your rug? I love it but there are so many on that site it is hard to narrow down my search!
Hi Abbie,
It is a persian one, it was one of a kind but if you search through they have some similar.
I was wondering if you had more information on the fabric you used, the link just goes to the store sisite not anything about the actual fabric. It is the perfect shade of green and I would love to know the color and manufacturer.
Hi Sara,
Unfortunately I bought the fabric from a remnants roll and there was no information on the fabric type or manufacturer!
I know you posted this months ago, but they do make the Penelope stand in large now in the acorn finish.
Hi Emily,
ha thank you! I know I saw it just the other day and as like ahhhh. But I actually went with their terrace night stand. will do an update soon! and thanks again for keeping an eye out for me. 🙂
Love this DIY bed! I have the same bedframe (queen) and want to tackle the project. I am also not a seamstress but I was wondering if you remember how many yards of fabric you had to purchase to fit the frame? I know nothing!
[…] easy. I’ve been on the hunt for the perfect extra-long lumbar pillow basically ever since I made our headboard (2 years-ish ago), but none have really jumped out at me, so I rolled up my DIY sleeves and got to […]
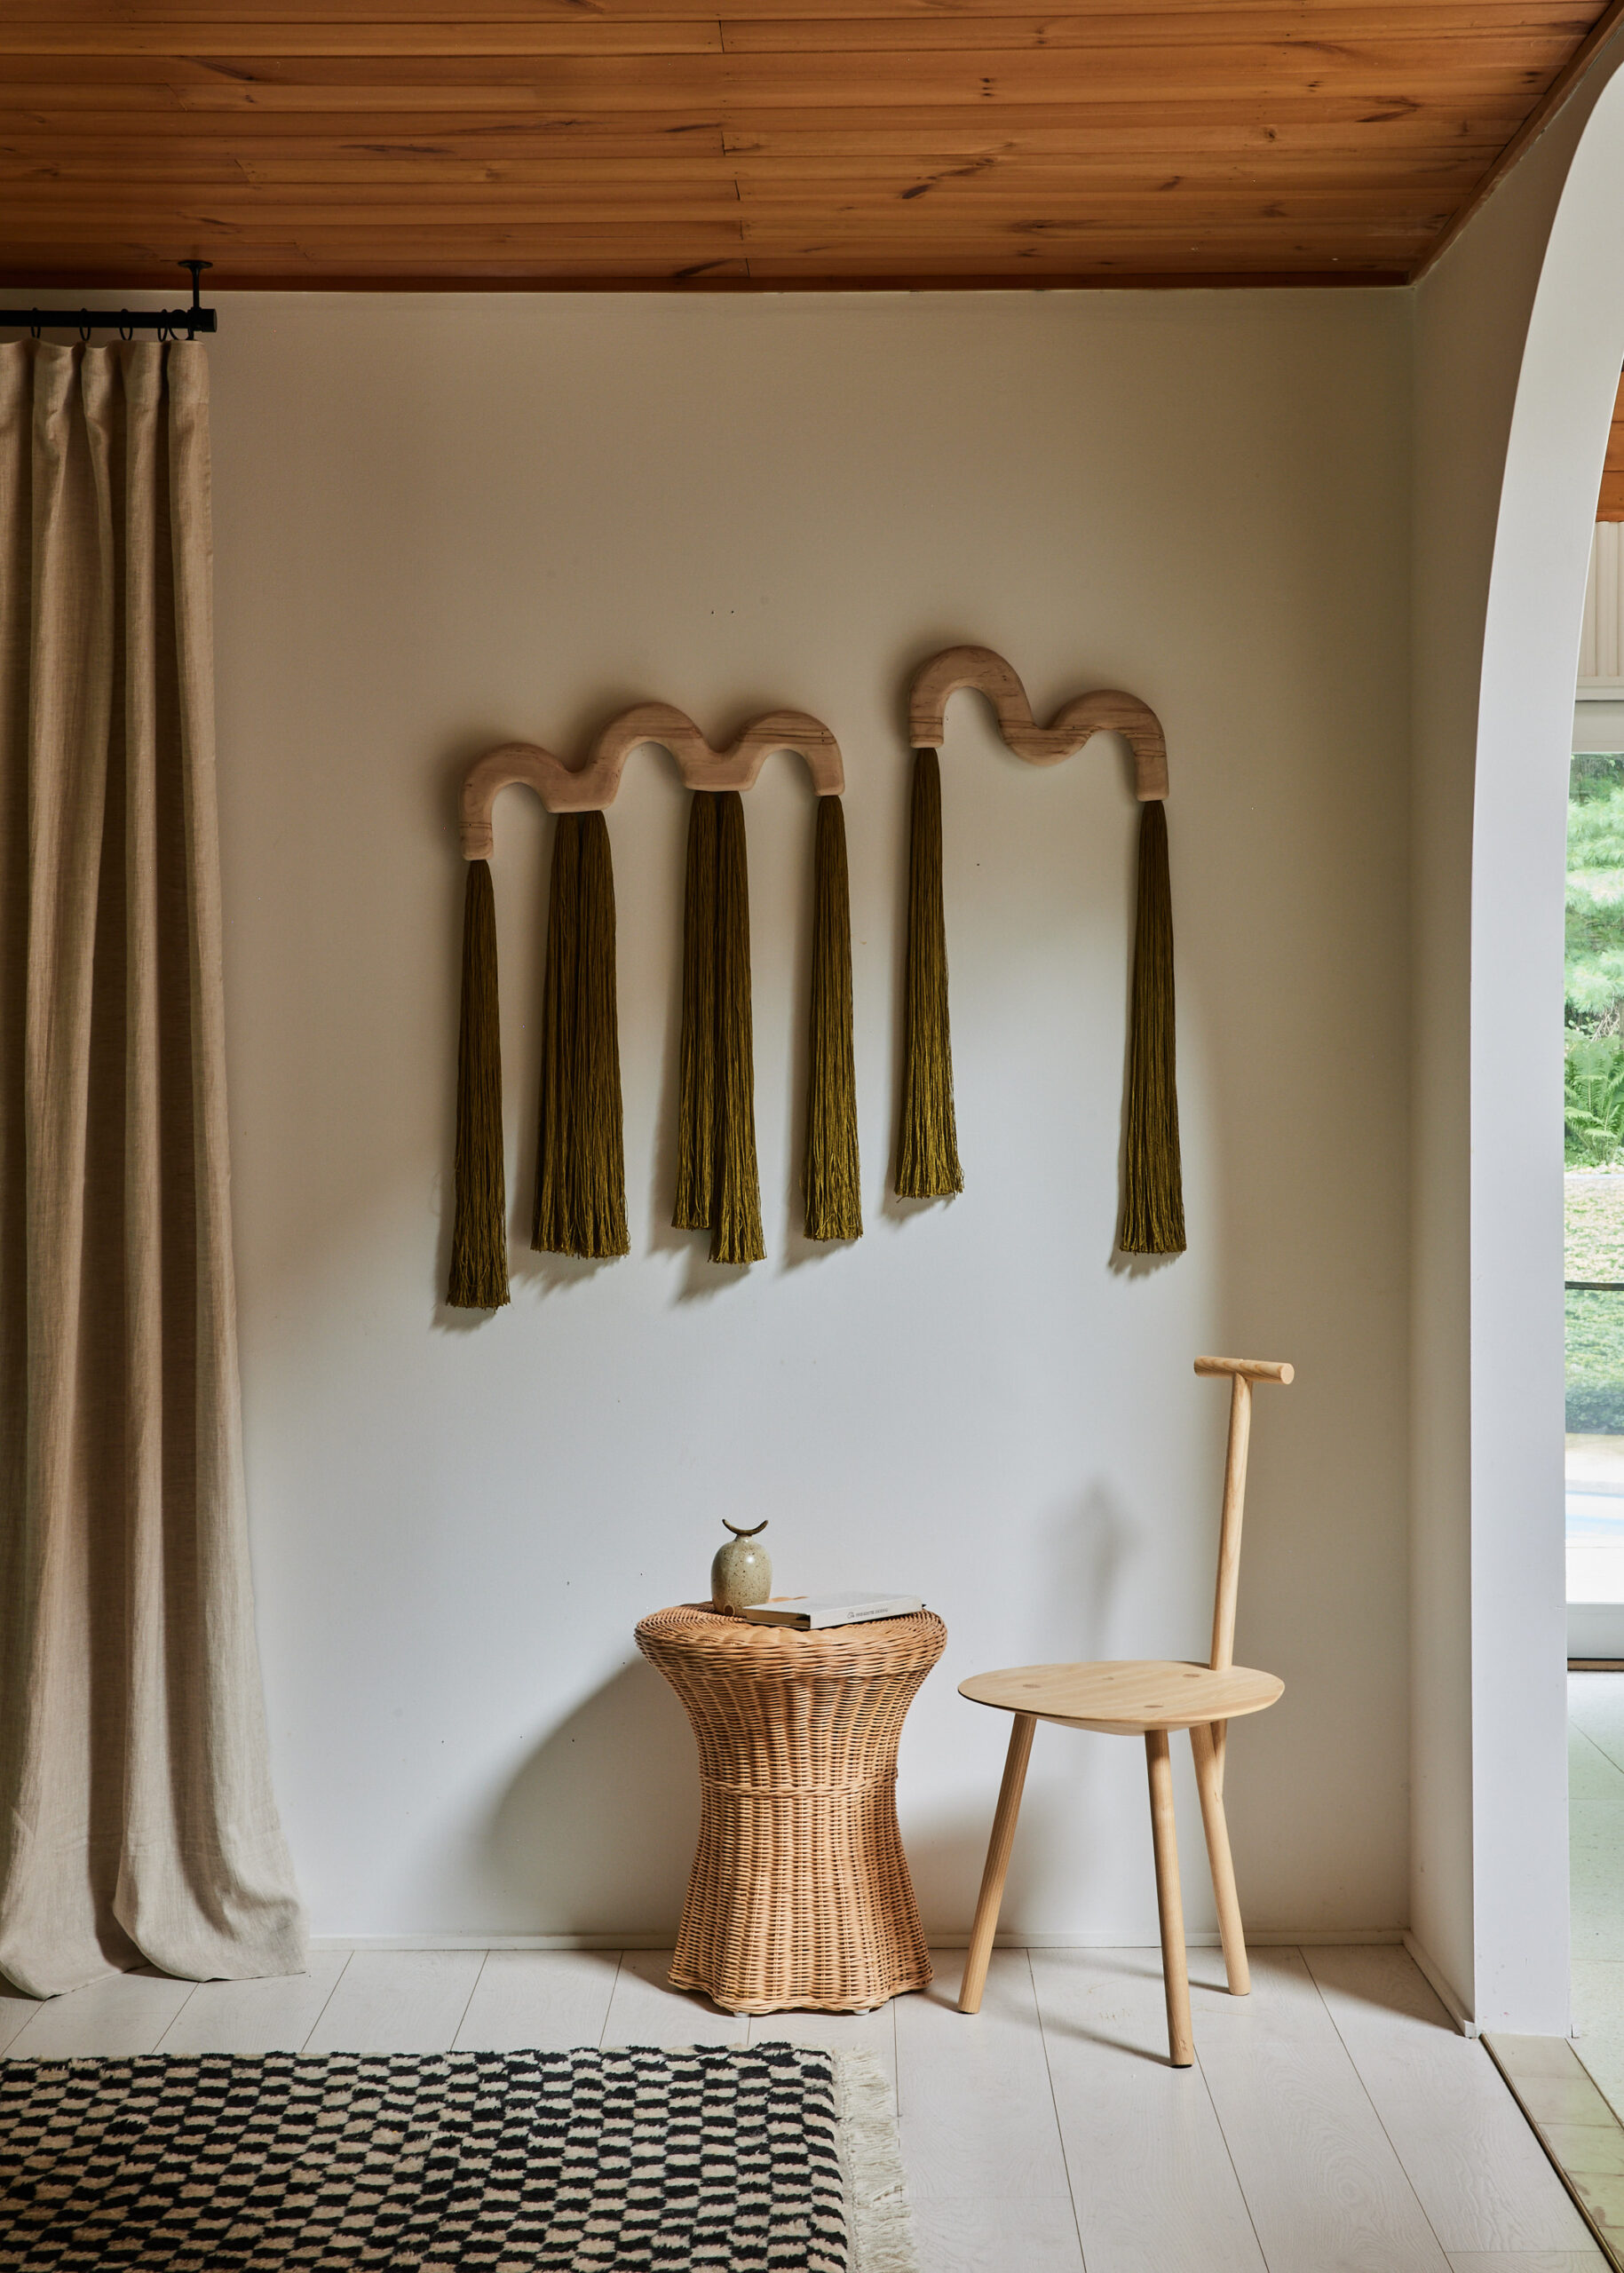
[…] Bed (was an old west elm that I reupholstered. DIY here) // Custom Dyed Bedding by Flaneur // Wall Art DIY by Sarah Sherman Samuel // Bench by CB2 // Rug […]
[…] Get the Look: Headboard […]
[…] Wallpaper // Bed is a DIY (see post here) // Swan // Nightstand // Vases // Bedding by […]