 We are working our way through the A-frame putting final touches on all the rooms (if you missed the finished living room check here!) and now I’ve got a peek into the finished guestroom nook. When we first bought it, this space was SO dark and had a crumbling basketweave texture on the walls and ceiling which matched the ceiling in the entryway/dining room. The ceiling was in OK shape and we painted the gold material white to match the rest of the house and to clean it up. We were hoping it would be enough to save the walls which were looking pretty rough but paint couldn’t rescue them. The texture was coming off in places and there were holes that just looked really bad no matter what, so we decided to cover them up with a DIY faux wood paneling.
Here is a peek at the way before…
 Not ideal. We took out the carpet, laid the new tile and painted which got us to here…
 It’s way brighter but the walls we still not cutting it for me and I started thinking of easy ways to get it looking more finished.
I saw Jenny Komenda using this bender board, for a mock shiplap, in a bathroom on instagram and thought it was the perfect way to add some faux wood paneling if I ran it vertically. It is super affordable and I love the clean lines. It also goes well with the wood panels and shutters we already have going on in the room.
Supplies needed:
bender board
chop saw
nail gun
nails
caulk
nail hole filler
paint/primer
some kind of spacer (we used our house keys can also use coins like a nickel)
glue
Sawzall
 Steps:
1. Measure out the space to determine how many boards you need. For our space we needed right around 50.
2. Cut down the boards to size. If you are lucky and working with an 8 foot ceiling you may not even have to cut them down but we have a low ceiling (and an uneven one to boot) so all of the 50 some boards had to be cut down to size. I used a chop saw and despite the 100 degree weather and being pregnant it went really fast. (I cut 3 at a time).
 3. Run a bead of glue along the back of the board and starting from one edge of the room attached it to the wall using the nail gun.
4. Put glue on the next board and line it up next to the first, inserting spacers between for a uniform space throughout the room. (We used our house keys). Attach it to the wall with the nail gun.
 5. Repeat step 4 until you’ve made your way along the entire room.
6. To notch out around outlets we used a sawzall.
 7. Once all the boards are up fill the nail holes. (I like to use this one with the build in spatula)
 8. For a clean finish run a line of caulk along the top and bottom as well (we did this out of order… after the paint, but better to do it before.
 9. Paint! We used a primer first (killz) and then “polar behr” by behr paint.
 And that’s it. The clean lines are so much better and it goes well with the wood paneling and shutters that are already in the space. I’ll be revealing the full bedroom soon… including another DIY for that headboard so stay tuned!
To see all the progress on the A-frame so far check here.
For more of my DIY projects check here.


Looks great! Love the headboard too, so I look forward to reading that DIY.
Yes. I also want to see headboard DIY. Is there link anywhere for this in here? Can’t find it.
Hello,
Here’s a direct link to the headboard DIY. In the future, you can click on the “DIY” section on the left-hand menu, and you can find all of our DIY posts there.
Amazing work.. It looks beautiful and is adorable. Waiting for your next DIY.
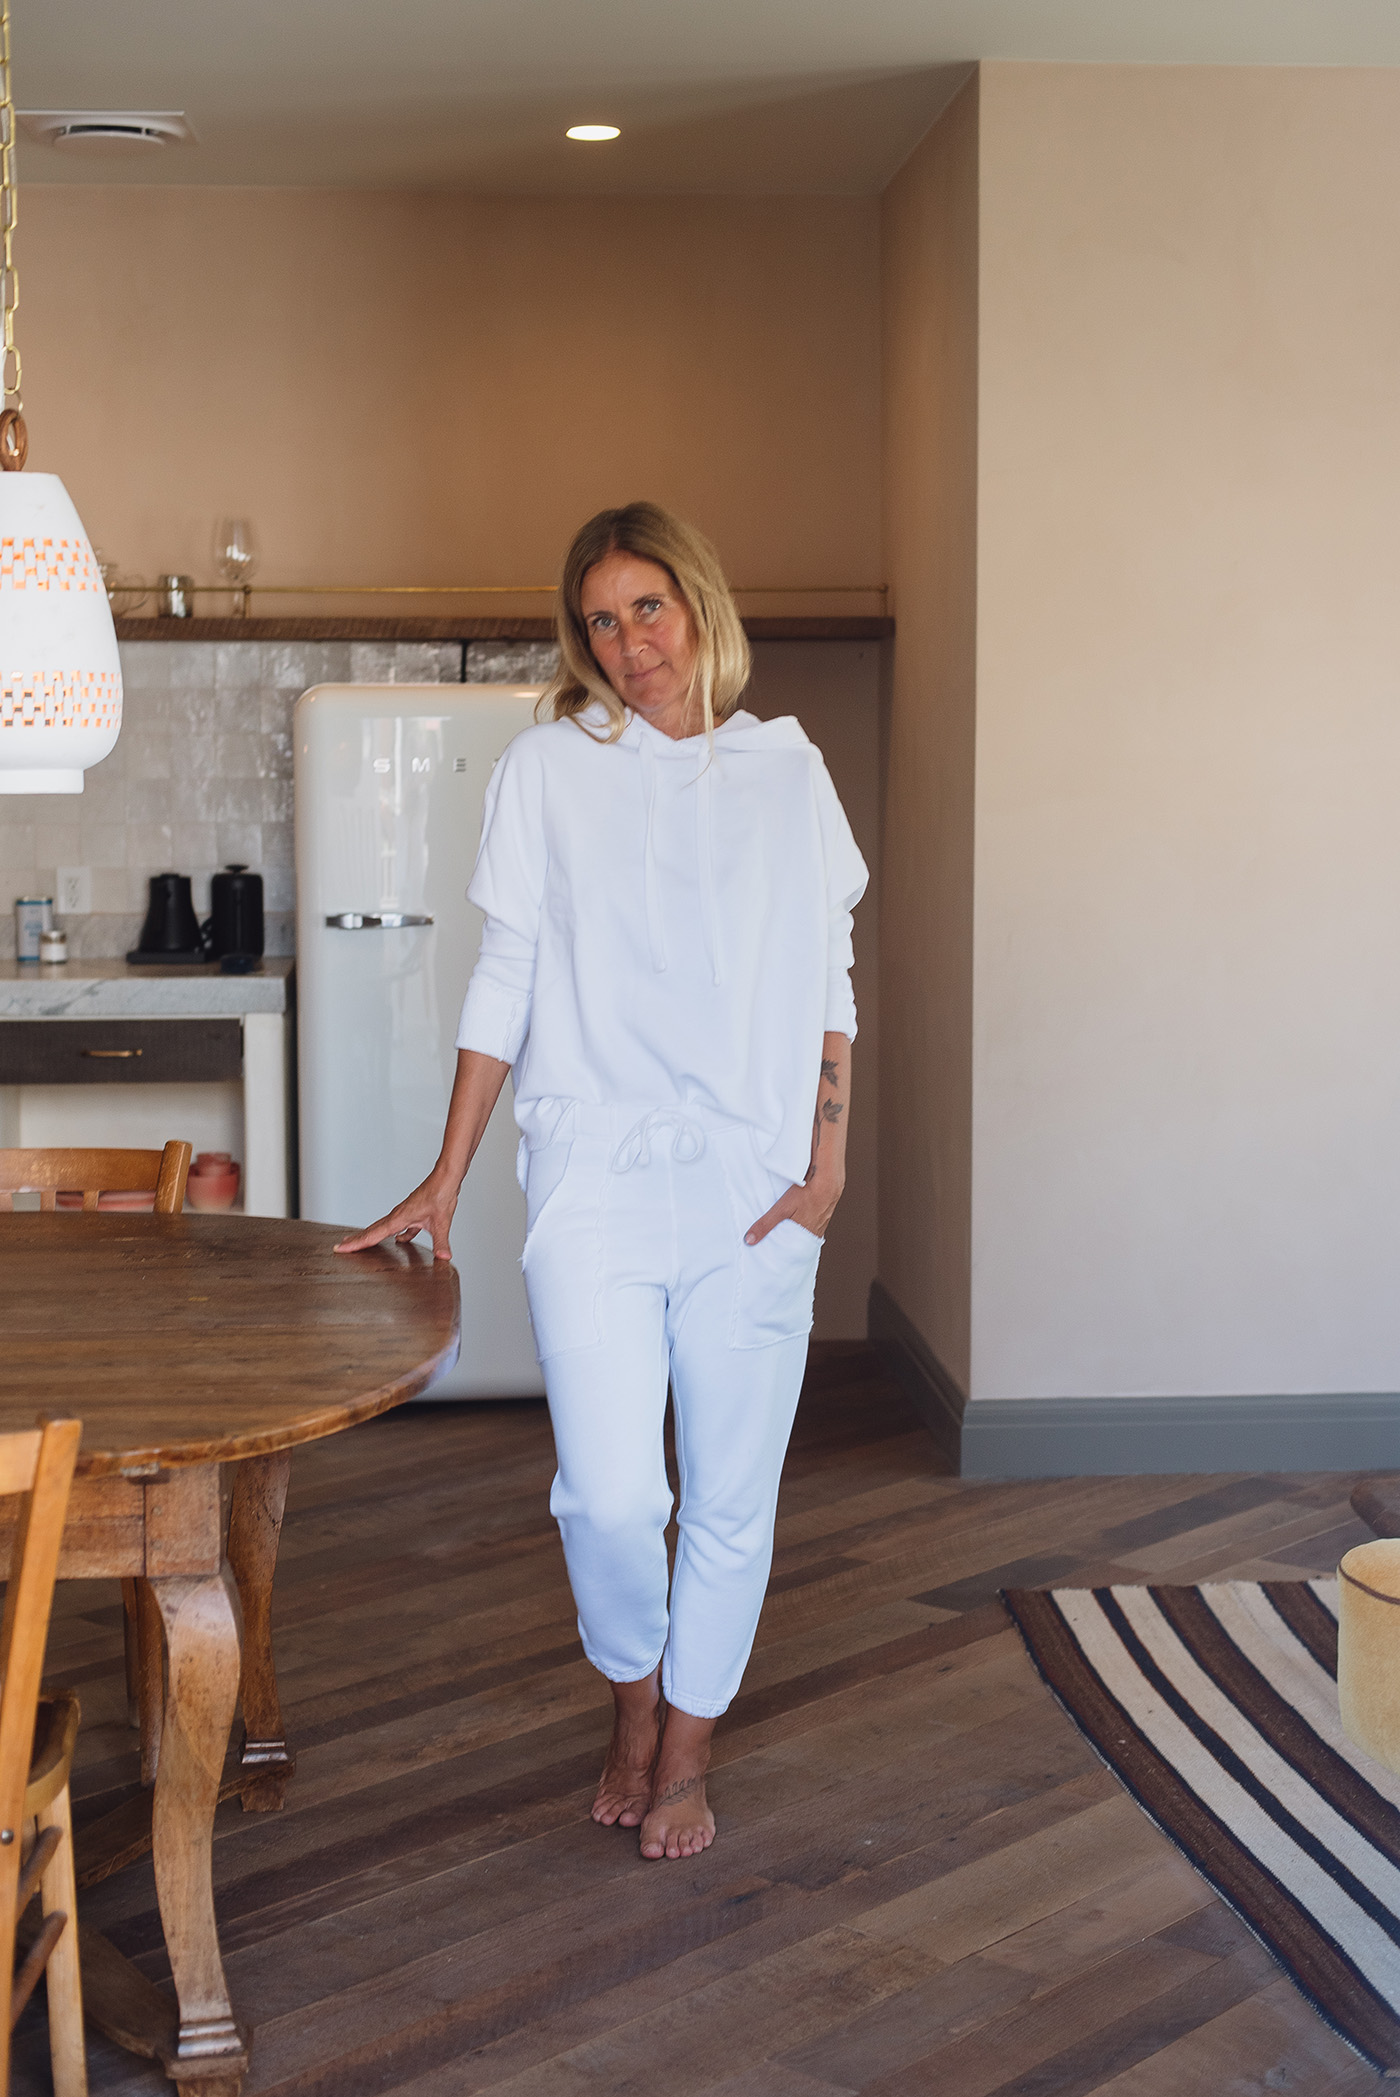
Looks good and love your dress ! You have such great style
Looks wonderful! I cannot wait for that headboard tutorial!
Do you know where is headboard DIY link? I can’t find in in blog. Great work!
[…] across a simple hack that makes a huge difference. This week, it was Sarah Sherman Samuel’s tutorial for faux wood paneling. The before and after is so […]
[…] Loving this SUPER EASY method for making a DIY faux wood panel or shiplap wall. So […]
This looks awesome! Love your blog <3
https://www.myblackcloset.com/
Great idea, also I LOVE your dress. Where is it from?
It’s form UZI NYC. X
[…] Loving this SUPER EASY method for making a DIY faux wood panel or shiplap wall. So […]
[…] afters) as well as the DIY info for the headboard which you got a peek of a couple weeks ago when I posted on the DIY wood paneling. I love how this simple small space turned […]
[…] afters) as well as the DIY info for the headboard which you got a peek of a couple weeks ago when I posted on the DIY wood paneling. I love how this simple small space turned […]
Great works! I really appreciate your DIY project. Wood frame looks amazing. I always wanted to do this in my house but was always missing a few steps in my head.
Woah! what an amazing makeover great work 🙂
Oh wow. these gadgets are just wonderful.Loved the post! All pictures are fabulous. You make a great point about checking into the maintenance of your DIY working.Seriously thank you for all this awesomeness!
Great tutorial…! Such a great makeover your room decoration tips and ideas. It looks like awesome and gorgeous. I like your house decoration tips and ideas. This is a very helpful post for me. I apprised your DIY Project. I am full of inspired now. I love your post. I am trying to follow your technique. Good job. Thanks for sharing your post.
This is a really great tips. Your article is very helpful for the people. I love home decoration work so your article say about home decoration then I like your post. Thank you for share such informative post.
This is super informative and looks relatively easy. Question… what would you do if you had 10 or 12 ft ceiling heights? Would you still use this product and just butt the boards together? Would you stagger the seams randomly? Want to do vertical paneling/shiplap but its tricky with such high ceilings. Any advice would be helpful. TIA!
[…] the living room is a den which we (and the previous owners) used as a second bedroom. We put up the wood paneling and created a diy headboard for a cozy sleeping […]