

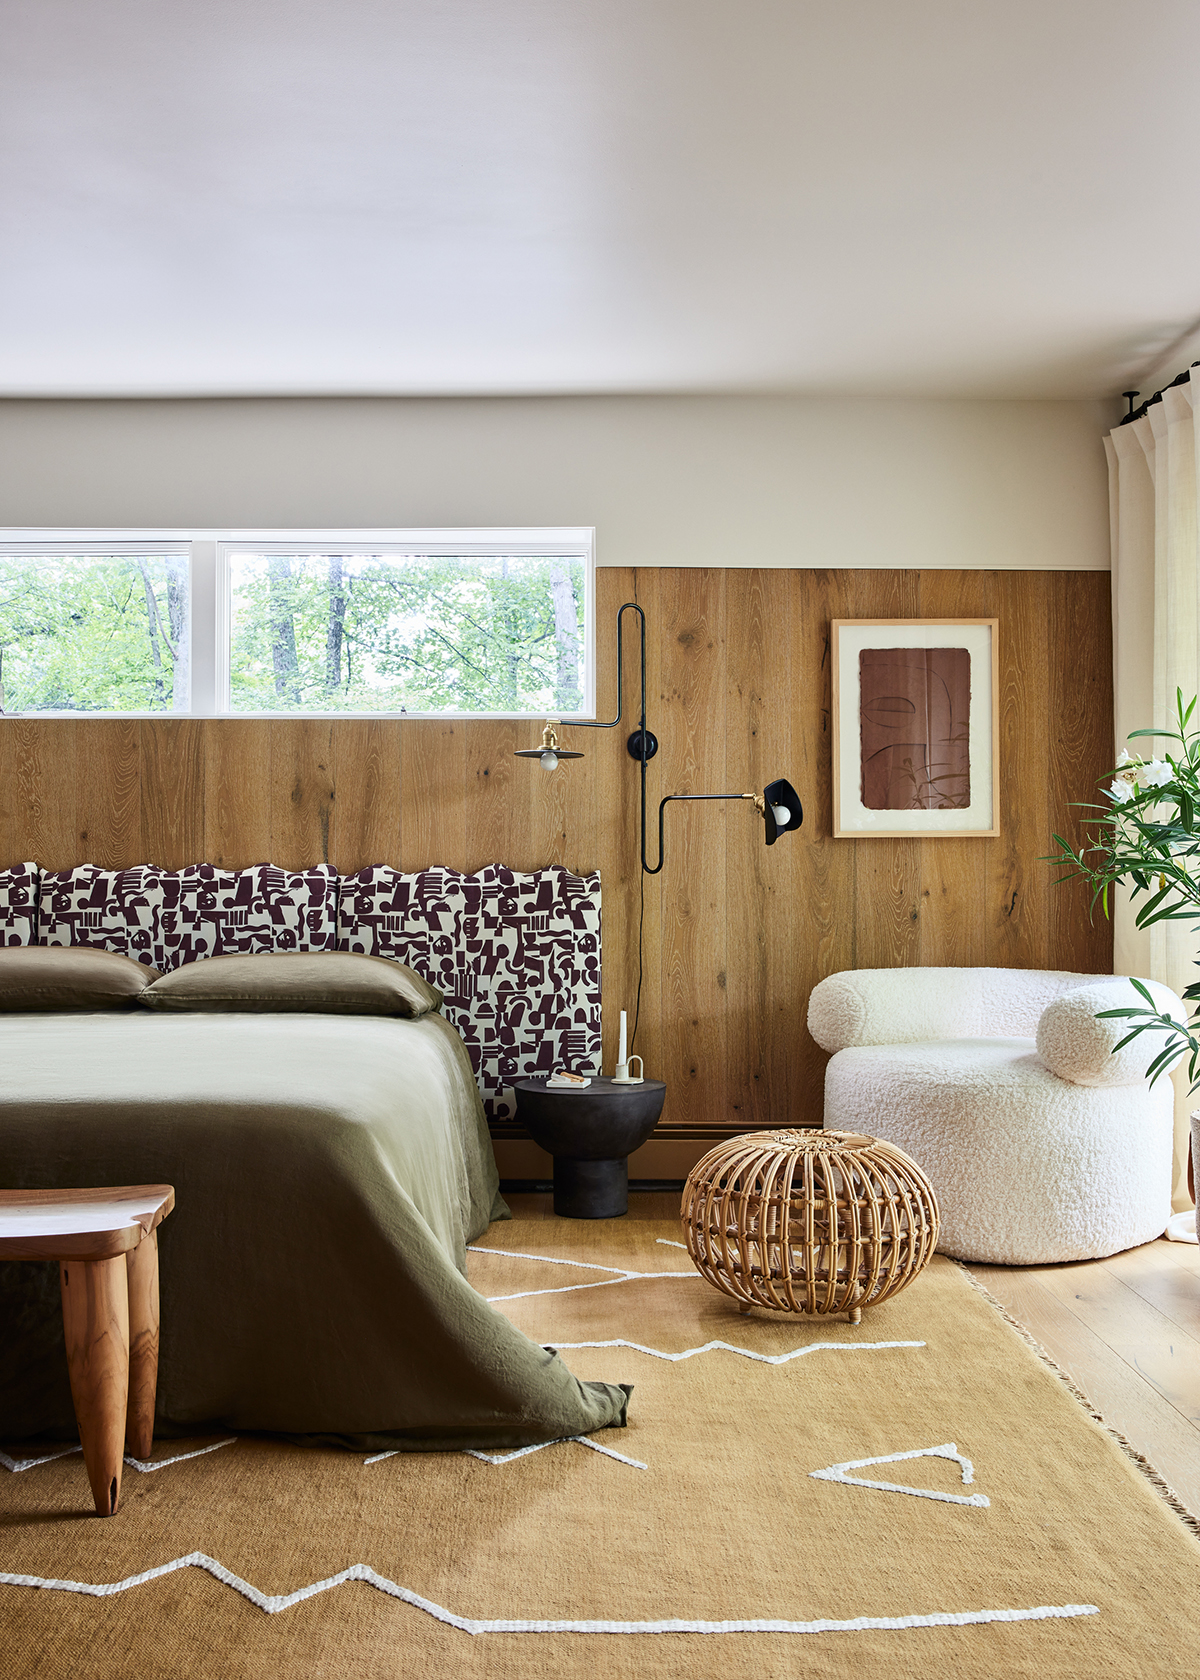
 We tackled a little DIY wallpaper project last trip so things are actually starting to look a little something like my bedroom plan here.
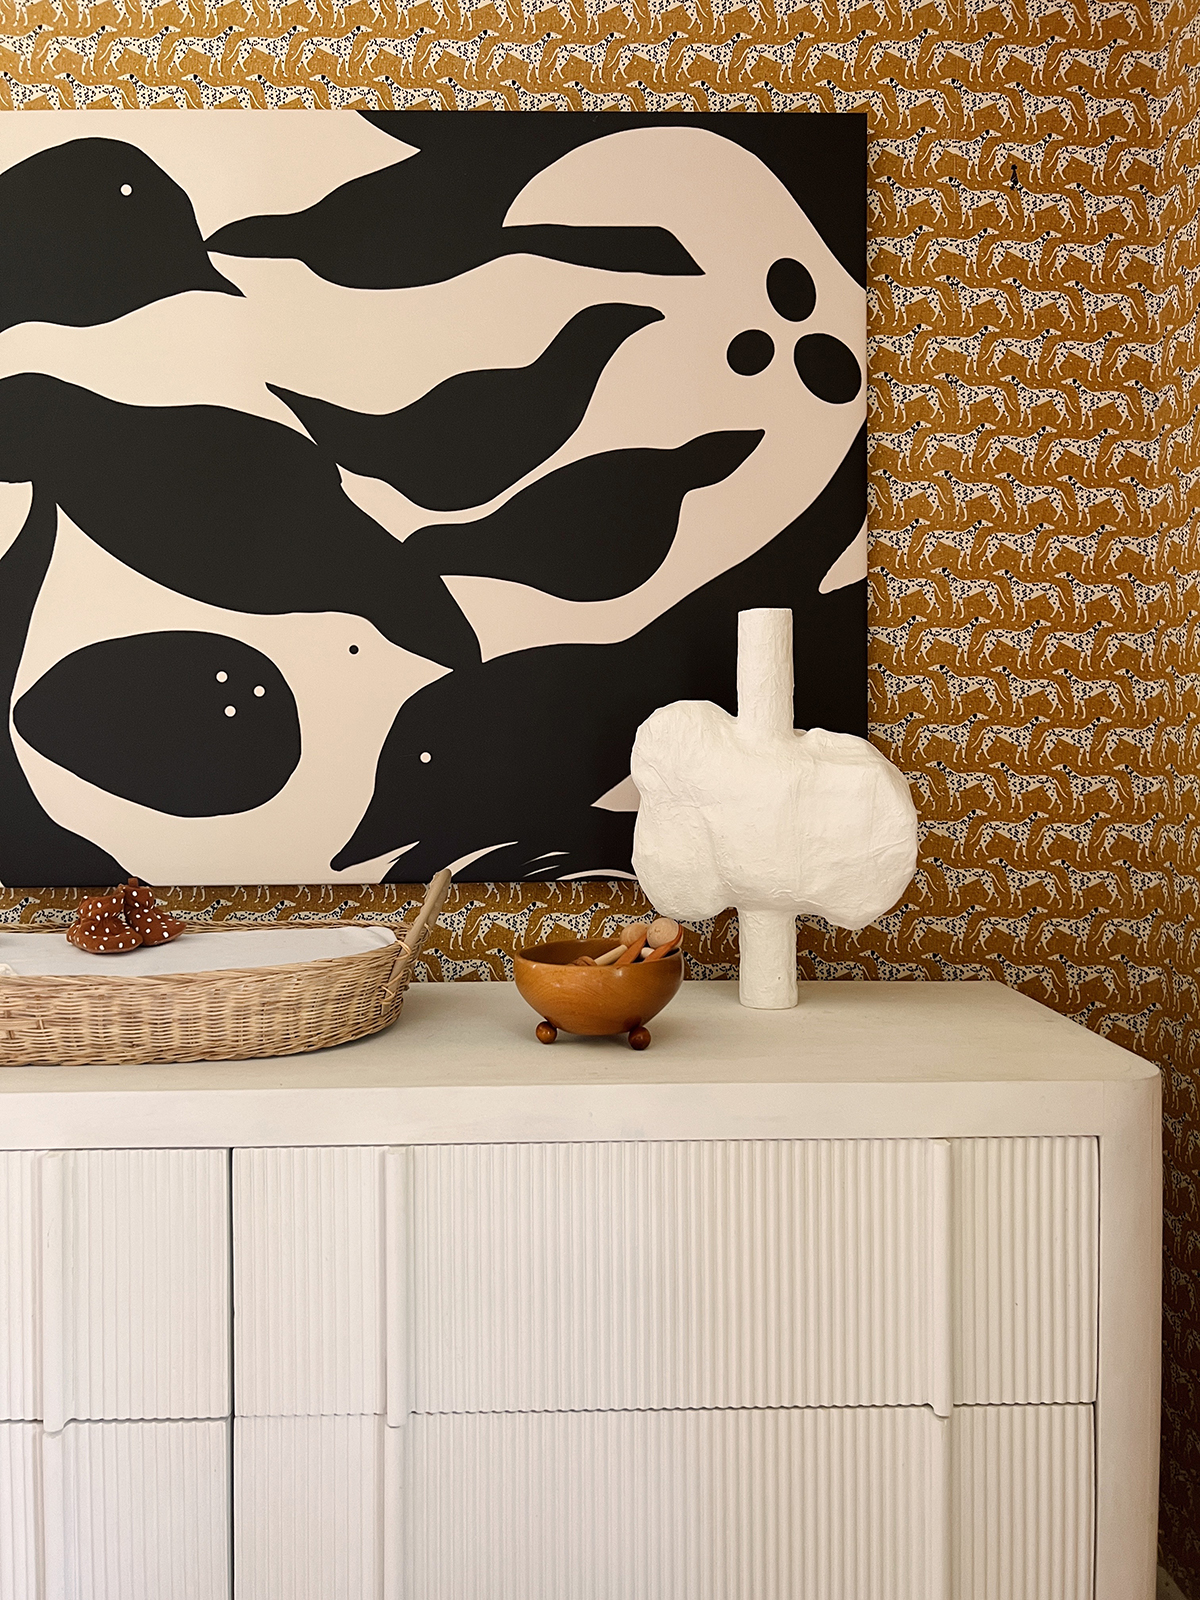
 I have been holding on to this Cole & Sons wallpaper for almost 5 years now so it is nice to finally have the perfect place to put it up! I know it has been seen and done many times before but it really is just soo good that I don’t mind. 🙂
The process of putting up the wallpaper was easier then you might think. My mom assisted me, and we had it up in no time (well, almost… it took us a couple hours), and it turned out great. It is amazing to me how big of a difference it makes in the room. If you ever feel like taking this on yourself there are some great detailed instructions here. Or, if you are like me… I like to hear the steps boiled down to the very basic before jumping into a project.
So, see how I did it after the jump:
Supplies used:
1. Sure Grip Wallpaper Adhesive
2. WalWiz straight edge
3. Sharp utility knife
4. Large paintbrush (4″-ish)
5. Bucket of water
6. Paper towel or rag
7. Measuring tape
Steps I took: (this process is for non-woven wallpaper)
1. Prep/clean wall (we had just primed and freshly painted so it was ready to go)
2. Cut the first length of wallpaper a few inches longer then the wall height so there is a little extra at the end.
3. Paint the Adhesive right onto the wall with the paint brush (only enough to fully cover the space of one length of wallpaper)
4. Position the wallpaper at the ceiling first and slowly smooth down the wall.
5. If it happens to fall crooked just peel away and reposition (the adhesive and paper is very forgivable)
6. Run the straight edge along the very bottom holding it firmly against the wall, while trimming with the utility knife (like shown against the ceiling above)
7. Apply adhesive to the space directly adjacent
8. Cut your second length of wallpaper based on where the pattern repeats on the first length, leaving a few inches extra on each end to trim at ceiling and floor
9. Repeat step 4 making sure to but the edge of the wallpaper up to the other (don’t overlap).
10. Repeat steps 7,8, & 9 until you are done, using the water and paper towel to clean up any access adhesive as you go.
I hope that is helpful! To see all the rest of the cabin progress, look here.
Images by Sarah
Branding and Initial Web Design
Nature
Web Design Production
Jane Reaction
Site Development
Alchemy + Aim
I am loving that wall paper. Your cabin is beautiful.
I never get tired of seeing that wallpaper – and it seems especially fitting in your cabin.
I discovered your blog a few days ago and love your posts. Love your decor style and the work you’ve done on your cabin–it’s so lovely!
Thanks Erin & Kay! I’m so glad you’re enjoying following along with my DIY cabin madness. Ha 🙂
LOVE what you’ve done with the cabin! My family vacations every year near Frankfort, MI… is that close to where you are? You are living my dream, I love the Lake Michigan coast, yay!
Love the cabin update series, it’s so beautiful! Just wondering however where that sweater is from? Cheers!
Thanks Jessica, it’s from Gap!
[…] 出典:https://sarahshermansamuel.com/ […]
[…] 出典: sarahshermansamuel […]
[…] a regular sized bed, put in new flooring, new electrical, new lights, new drywall, paint, and trim, wallpapered, re-built one set of bunk beds, re-built a new closet, put in new entry doors, DIY’d a […]